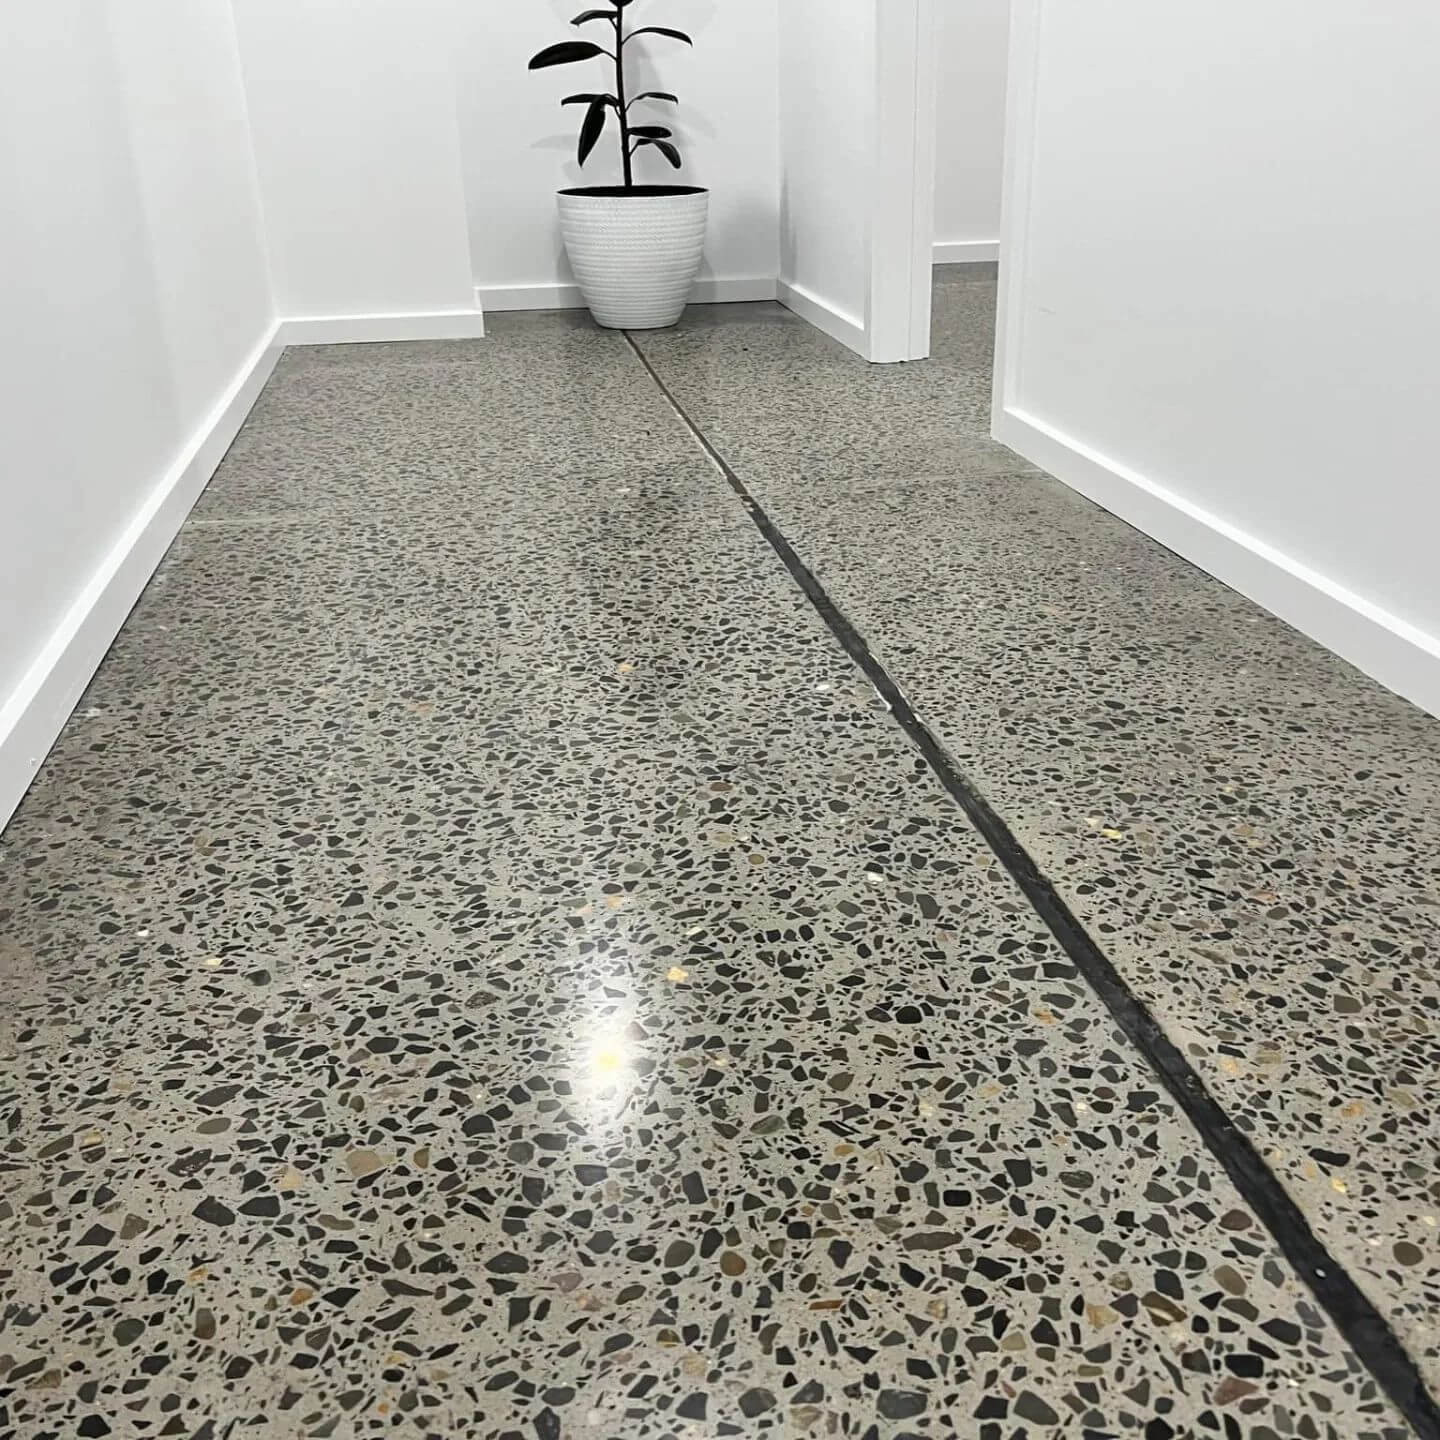
Concrete floors have become a popular choice for homes and businesses due to their durability, versatility, and modern aesthetic. Polishing concrete floors can take their appearance to the next level, providing a glossy and attractive finish. In this article, brought to you by Flash Flooring, we’ll guide you through the process of polishing concrete floors and share tips on how to keep them well-maintained for years to come.
I. Understanding the Benefits of Polished Concrete
Before diving into the polishing process, it’s important to understand the advantages of polished concrete floors. Polished concrete offers:
- Durability: Polished concrete is exceptionally tough and can withstand heavy foot traffic, making it perfect for both residential and commercial spaces.
- Low Maintenance: Polished concrete is easy to clean and requires minimal maintenance compared to other flooring options.
- Design Versatility: You can choose from various levels of gloss and customize the appearance with decorative elements like stains and patterns.
- Energy Efficiency: The reflective surface of polished concrete can enhance natural lighting, reducing the need for artificial lighting and saving energy.
II. The Polishing Process
Polishing concrete floors involves several steps:
Step 1: Surface Preparation
Before you begin, ensure the concrete surface is clean and free from debris. Fill any cracks or imperfections with a suitable patching compound.
Step 2: Grinding
Use a concrete grinder with progressively finer grits to grind down the surface. Start with a coarse diamond grinding pad and gradually switch to finer ones until you achieve the desired level of smoothness and shine.
Step 3: Polishing
Apply a concrete densifier to the surface. This chemical reacts with the concrete to harden and strengthen it. Then, continue the grinding process with finer grits to achieve a high level of polish.
Step 4: Staining (Optional)
If you want to add color or patterns to your polished concrete, this is the time to apply concrete stains. Stains can create unique and attractive designs on the floor.
Step 5: Sealing
To protect the polished surface and enhance its shine, apply a concrete sealer. This step is crucial for maintaining the appearance of your polished concrete.
III. Maintaining Polished Concrete Floors
Once you’ve polished your concrete floors, it’s essential to maintain them properly to preserve their beauty and longevity:
- Regular Cleaning: Sweep or vacuum the floor to remove dust and dirt. Mop with a neutral pH cleaner and warm water to keep the surface clean.
- Avoid Harsh Chemicals: Stay away from acidic or abrasive cleaners that can damage the polish. Stick to mild, pH-neutral cleaners.
- Use Walk-Off Mats: Place mats at entry points to trap dirt and prevent it from scratching the surface.
- Reapply Sealer: Over time, the sealer on your polished concrete may wear off. Reapply it as needed, typically every 1-3 years, to maintain the shine and protection.
- Prompt Spill Cleanup: Clean up spills immediately to prevent staining.
- Avoid Scratches: Place felt pads under furniture legs and avoid dragging heavy objects across the floor.
By following these maintenance tips, you can enjoy the benefits of your polished concrete floors for years to come.
IV. Professional Maintenance
For periodic deep cleaning and resealing, consider professional maintenance services. Flash Flooring offers expert concrete floor maintenance services to help you keep your floors looking their best.
In conclusion, polished concrete floors offer durability, low maintenance, and aesthetic appeal. With proper care and maintenance, your polished concrete floors will continue to shine, making them an excellent investment for your space. For more information or professional assistance, visit Flash Flooring.

